There are many collectibles to find in Sniper Elite: Resistance, and the list gets longer each time the game gets a mission DLC. Many of these collectibles come in the form of pickups. Such as classified documents, hidden items, and personal letters. However, there are also some special cases.
Players will need to rip down a poster, find workbenches for new gun attachments, and survey the tops of structures and other high places to find all of the game’s Stone Eagle statues. Shooting Stone Eagles can be very satisfying when they explode with a burst of light.

Related
Sniper Elite: Resistance – All Collectibles for Lights, Camera, ACHTUNG!
Just like in the base game, Sniper Elite: Resistance offers some collectibles in its DLC mission: Lights, Camera, ACHTUNG!
All Collectibles for Mud and Thunder DLC in Sniper Elite: Resistance

Here is a complete list of all the collectibles for Mud and Thunder in Sniper Elite: Resistance. This game can be quite daunting, so it is best for players to have many skills under their belts.
Always bring a satchel charge in case you cannot find the keys you need.
|
Collectible Number |
Collectible Name |
Collectible Type |
Description |
|
1 |
Stone Eagle 1 |
Stone Eagle |
As players come from the path where the level starts. They will see the eagle sitting on a ridge at the marked spot. This is a great way to start things off for a great experience. |
|
2 |
Stone Eagle 2 |
Stone Eagle |
This eagle is sitting on top of the building at the marked location. |
|
3 |
Concerning News |
Personal Letter |
Follow the road to find a blue car, a truck, and a dead soldier. The letter is on the dead soldier’s body. Searching this soldier’s body is required by a main mission, making this collectible unavoidable. |
|
4 |
New Tech |
Classified Document |
This can be found in a safe on the top floor of the radio tower at the marked location. Players can also find the keys to this safe on the same floor. There is a satchel charge near the building if they cannot find the key. |
|
5 |
Woodlands Starting Location |
Starting Location |
When players get close to one of the game’s starting locations, a blue eye will mark its exact spot for them. Light the fire at this spot to unlock this starting location. |
|
6 |
Wilda, My Dearest |
Personal Letter |
Head to the Kill List Challenge for this map. Players will find a smaller house behind the larger one. Access the top level of this house to find a table with the letter on it. |
|
(2) |
Fancy Teapot |
Hidden Item |
Start to head back to the start of the map, and in doing so pass Stone Eagle 2. Inside the building that has this Stone Eagle on top there will be a teapot on the table. |
|
Gear |
Workbench 1 |
Workbench |
You will see a gear icon by the numbered location. This is the first workbench for this DLC map. |
|
7 |
New Orders |
Classified Document |
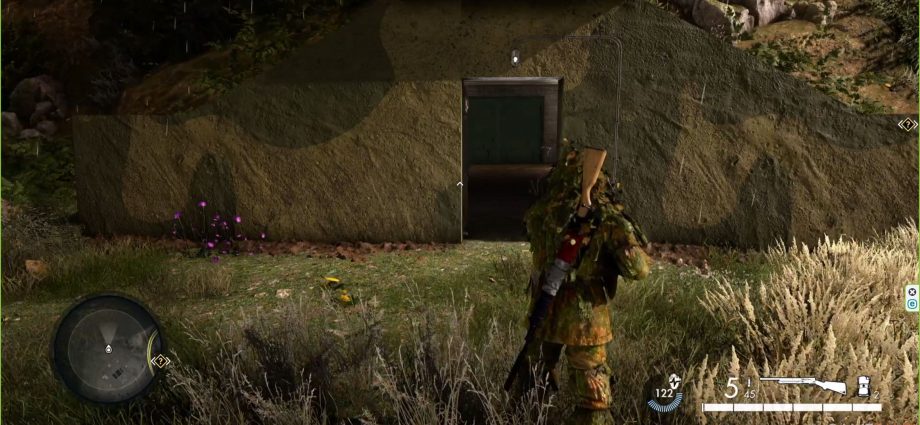
You will find this classified document inside the other building in this area. It will be near the shelter’s entrances in a box sitting next to a crowbar. |
|
8 |
I Hate This Place |
Personal Letter |
On your way back to the start of the map, you will approach a bridge. Players will find this letter on a table before reaching this bridge. |
|
Gear |
Workbench 2 |
Workbench |
Head to the top level of the warehouse with the white gear icon. |
|
9 |
Asperine Bottle |
Hidden Item |
Head down on the map to find 2 semi-cylindrical structures. The lower of the two structures has a hidden item in the form of an Aspirin bottle. |
|
10 |
A Monster in the Marshes |
Classified Document |
Head to the top level where the number 10 is marked. Before entering the building, look towards number 11 to get the final Stone Eagle from this vantage point. While it could have been obtained earlier, this is a much clearer shot. Head inside the building to find this classified document inside the safe. |
|
11 |
Stone Eagle 3 |
Stone Eagle |
Sitting on top of the marked area. |
|
12 |
Relocation Request Draft |
Personal Letter |
Head through the trenches and follow along the curve to find a desk at the marked location. |
|
13 |
Hillside Starting Location |
Starting Location |
Break the lock of the gate at this location to unlock it as a future starting location for this mission map. |
|
14 |
Propaganda Poster |
Propaganda Poster |
Head up along the trail to the marked location to find a small pillbox structure. Inside this structure will be one of the game’s Propaganda Posters. |
|
15 |
Damp and Miserable |
Personal Letter |
Head to the right towards the refinery rigging. Before this rigging, there will be a stack of storage drums. Between these 2 points will be a stack of crates with this person’s letter on top. |
|
Gear |
Workbench 3 |
Workbench |
Head to the V2 rocket with a main mission marker on it. Head down on the map from this rocket to find this workbench. It will be behind a door with a padlock. Players will want to find as many of the game’s workbenches as they can to fully trick out their weapons. |
|
16 |
Construction Complete |
Classified Document |
To the right of the V2 rocket will be a bunker. Head through the main doors of this bunker and then through the next set of large doors. Keep to the left wall, and you’ll find a table with this classified document on it. |
|
17 |
Workplace Safety |
Classified Document |
Head down the stairs from this document and then out the metal doors. To the right of these doors will be a wooden crate with the final set of documents for this map. |