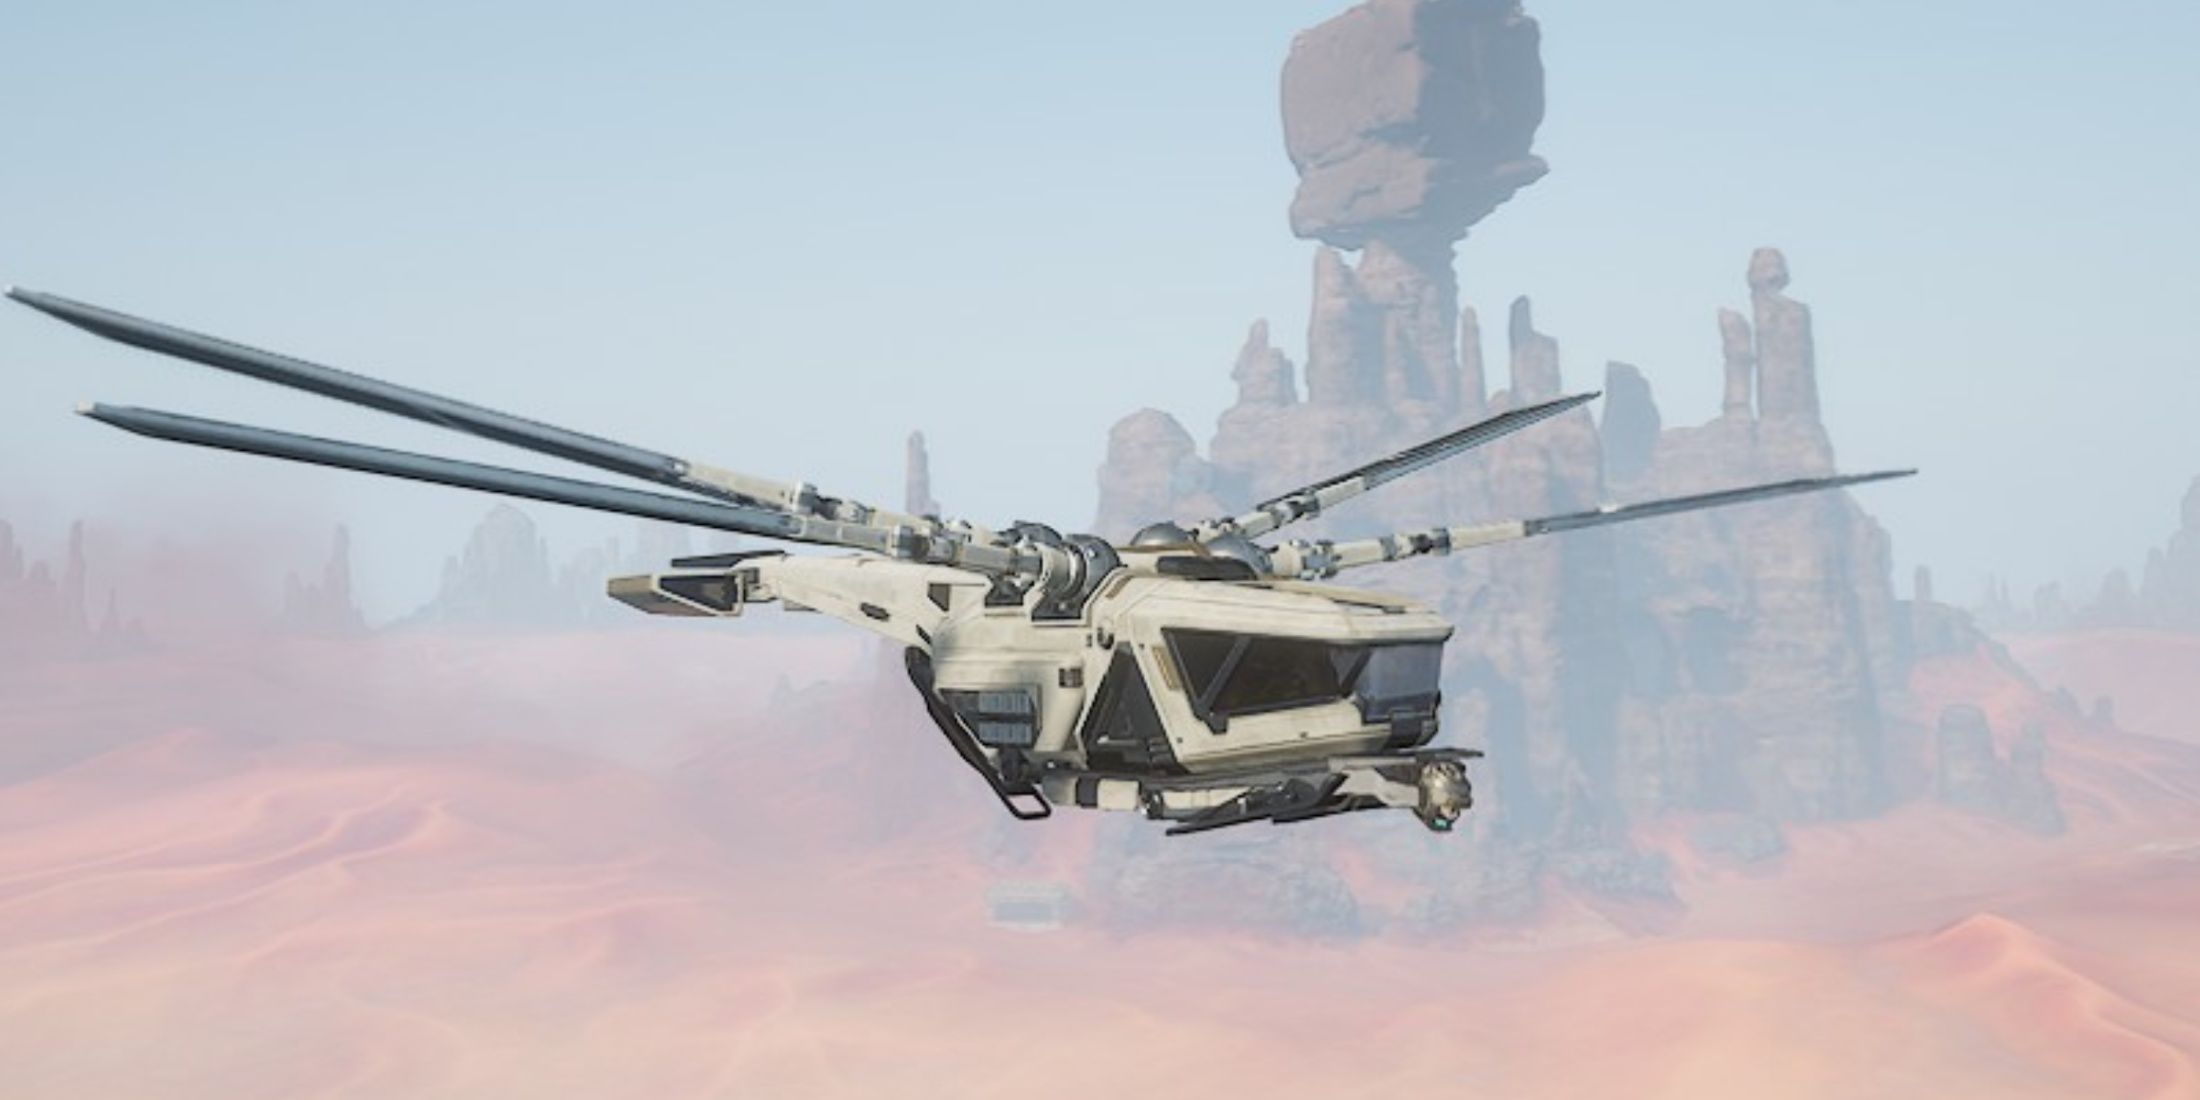
Incursions to the Deep Desert in Dune: Awakening are dangerous, and players should be ready to lose it all at any given moment. Those who dive into the Deep Desert to try their luck are often met with a vicious resistance from enemies, the environment, and other players. However, those who go prepared prosper, and what’s more, they manage to get into the top tier of players and dominate the server.

Related
9 Beginner Tips in Dune: Awakening
For those diving into the sands of Dune: Awakening, here are some useful beginner tips to help them in their adventure.
So, for those looking to make the most out of the challenging Dune: Awakening endgame, this is a basic list of how to gear up before every Deep Desert incursion. Including a basic gearing guide and useful advice on how to dominate after every Coriolis Storm reset. Let’s start with gearing up before every delve into the most dangerous zone in the game.
Deep Desert Gear Guide: What to Bring?
In Dune: Awakening, exploration in the Deep Desert goes by Quadrants instead of Regions. Each Quadrant is marked with a letter and a number, for example A3, A4, and so on. Players need various basic items to survive in these treacherous sands, and here’s a list of all the gear you should bring to a Deep Desert incursion:
- Literjon/Decaliterjon: Without water, players are dead.
- Binoculars: Scouting ahead is the best way to avoid players’ ambushes on critical resource spots.
- Stilltent: Will save you from any sudden storm and from dehydration. It can be used alongside the Vehicle Backup Tool to save water during the peak of scorching sunlight.
- Vehicle Backup Tool: Can store one small Ornithopter or Sandbike. Players can carry 2 and store one of each, and this is awesome.
- Ammunition: Needles to say, without them, weapons are useless.
- Survey Probe Launcher: Use it to scout and remove the ‘sand of war’ of every quadrant.
- Survey Probes: The ammunition of the Survey Probe Launcher, bring lots before heading out.
- Cutteray (Tier 6 or higher): Without it, the most precious resources are impossible to extract.
- Healing Kits: Players are going to need tons of them.
Now, if players want to truly thrive and kickstart a fast base of operations, they should also bring EMF Generators and Micro-Sandwich Fibers from Fremen shelters, since they are useful to create lots of the basic gear. Building in the Deep desert costs half, so they will be able to put up a base of operations considerably faster with proper mats. Bringing some Steel Ingots to craft containers also helps a lot.
Deep Desert Base Building Tips: Preparing For The Worst
The number one rule of Deep Desert base building is: Your first base should always be built in the Safe Zone bordering the inner grid, since its a PvE zone that is often rich with basic resources (up to Aluminum tier) that will allow players to accelerate their temporary base of operations in the Deep Desert.
Every base built and all things included inside will be destroyed every Tuesday, during the Coriolis Storm (server reset). So, players need to be prepared to lose everything if they miss the chance to get all their precious resources back to Hagga Basin on time. That’s why building in the safe zone is so important, not only because they will be safe from hostile players’ assaults, but because they will be able to quickly move resources in and out of the Deep Desert.
Deep Desert PvP: Builds And Optimal Gear
Currently, every late-game build, such as the Mentat/Trooper, or the Bene Gesserit Assassin are fairly optimized for PvE and PvP in the Deep Desert, but players should be aware of various things before engaging in PvP:
- Upon death, they will lose most of the things they carry, including ammo.
- Gear will suffer considerable damage each time players die.
- Respawn spots are not safe and can be exploited and camped.
- Most PvP happens in groups; solo players are basically cannon fodder in the Deep Desert.
- Vehicles are armed to the teeth, even small Ornithopters will carry Missile Launchers, and players will suffer if they don’t learn the basics of aerial combat.
The best weapons to carry in Deep Desert PvP are those that cause Disruption (shield break), Poison (penetrates shield and causes DoT), and Scorch (sets enemies on fire and causes DoT). On the melee side, Spark Swords, Spark Knives, and the Glutton’s Hook are the main stars of the show, thanks to their ability to break shields, and in the case of the Hook, cause bleeding.

Related
How To Get Ornithopter Fast In Dune Awakening
For those who want to fly fast, here’s a guide on how to get Ornithopter Quicker & Easier as a solo player in Dune: Awakening.
AoE and Status Effects are the players’ main allies in a world where the weak is devoured (either by the Sandworm or other players), so use abilities such as Assault Seeker, Explosive Grenade, Gravity Mine, and Poison Capsule to fight against groups of foes. And never go alone, bring a friend, join a Guild, fight together.
On that note, players are only allowed to join Guilds that have pledged their allegiance to the same Main House as them. Atreides with Atreides, and Harkonnen with Harkonnen. Those are the rules of the game. When a clan pleads its allegiance to a House, every member that isn’t aligned with said house will be automatically expelled.
Deep Desert Exploration: Vehicles And Scouting
Dune: Awakening has lots of vehicles, and each of them has a particular use. Before heading out to the Deep Desert, players should know that the Ornithopter is mandatory, but which is the best option for them, Scout or Assault? Here’s a summary of their characteristics to help them pick the best choice:
- Assault Ornithopter: Slower, but has more maneuverability and armor. It is fit for combat, good to chase carrier Ornithopters but bad at pursuing Scout Ornithopters. It consumes way more Fuel, and its wings have less glide speed.
- Scout Ornithopter: Faster, less maneuverable, and with armor. Can be modified for combat, but has overall less resilience than other Ornithopters and will fall with ease. It is smaller but more versatile, and significantly faster in both hover and glide (Vulture) modes.
- Carrier Ornithopter: Used to move vehicles such as Sandcrawlers and Buggies, or to extract them from dangerous situations. Have far less speed and need to be protected or can be taken down by Assault Ornithopters or Rocket Launchers from the ground.
For Aerial PvP, pick Assault Ornithopter, more so if players are moving in groups and need to defend their Guild’s resources from possible enemy players.
For exploration, pick Scout Ornithopter. It’s way faster, and will take players longer distances. But flee if another Ornithopter approaches. If they are an Assault Ornithopter, they will never reach them. If they are another Scout Ornithopter equipped with Thrusters, the possibility of them catching up is a little bit higher, but an Ornithopter with thrusters cannot equip Missile Launchers.
Then, for transport of other players and precious vehicles like Sandcrawlers, pick the Carrier Ornithopter. Overall, they are fairly resilient, but slow and need to be escorted back to base. More so if they are currently carrying a vehicle filled with precious Spice.
