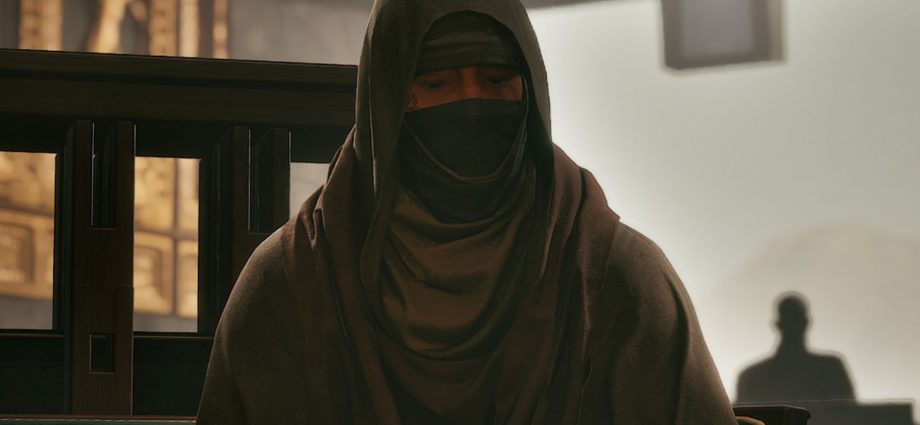
Searching for Answers is one of the final steps in Dune: Awakening‘s Epilogue Quest, an infiltration mission that sends players into the ruins of Old Carthag alongside the rebel leader Zantara, to uncover the truth behind the mysterious Sleeper.
Related
How to Complete Water Fat in Dune Awakening
Having trouble with Water Fat mission in Dune: Awakening? This full walkthrough will help players infiltrate the Water Shipper’s Manor successfully.
But the mission is filled with tons of challenging steps, from disabling the fan systems to finding a way inside the base. This full walkthrough covers all of the steps to complete the mission and obtain the final reward, and some overdue answers as to why the Prisoner was sent to Arrakis.
How To Start Searching For Answers In Dune Awakening
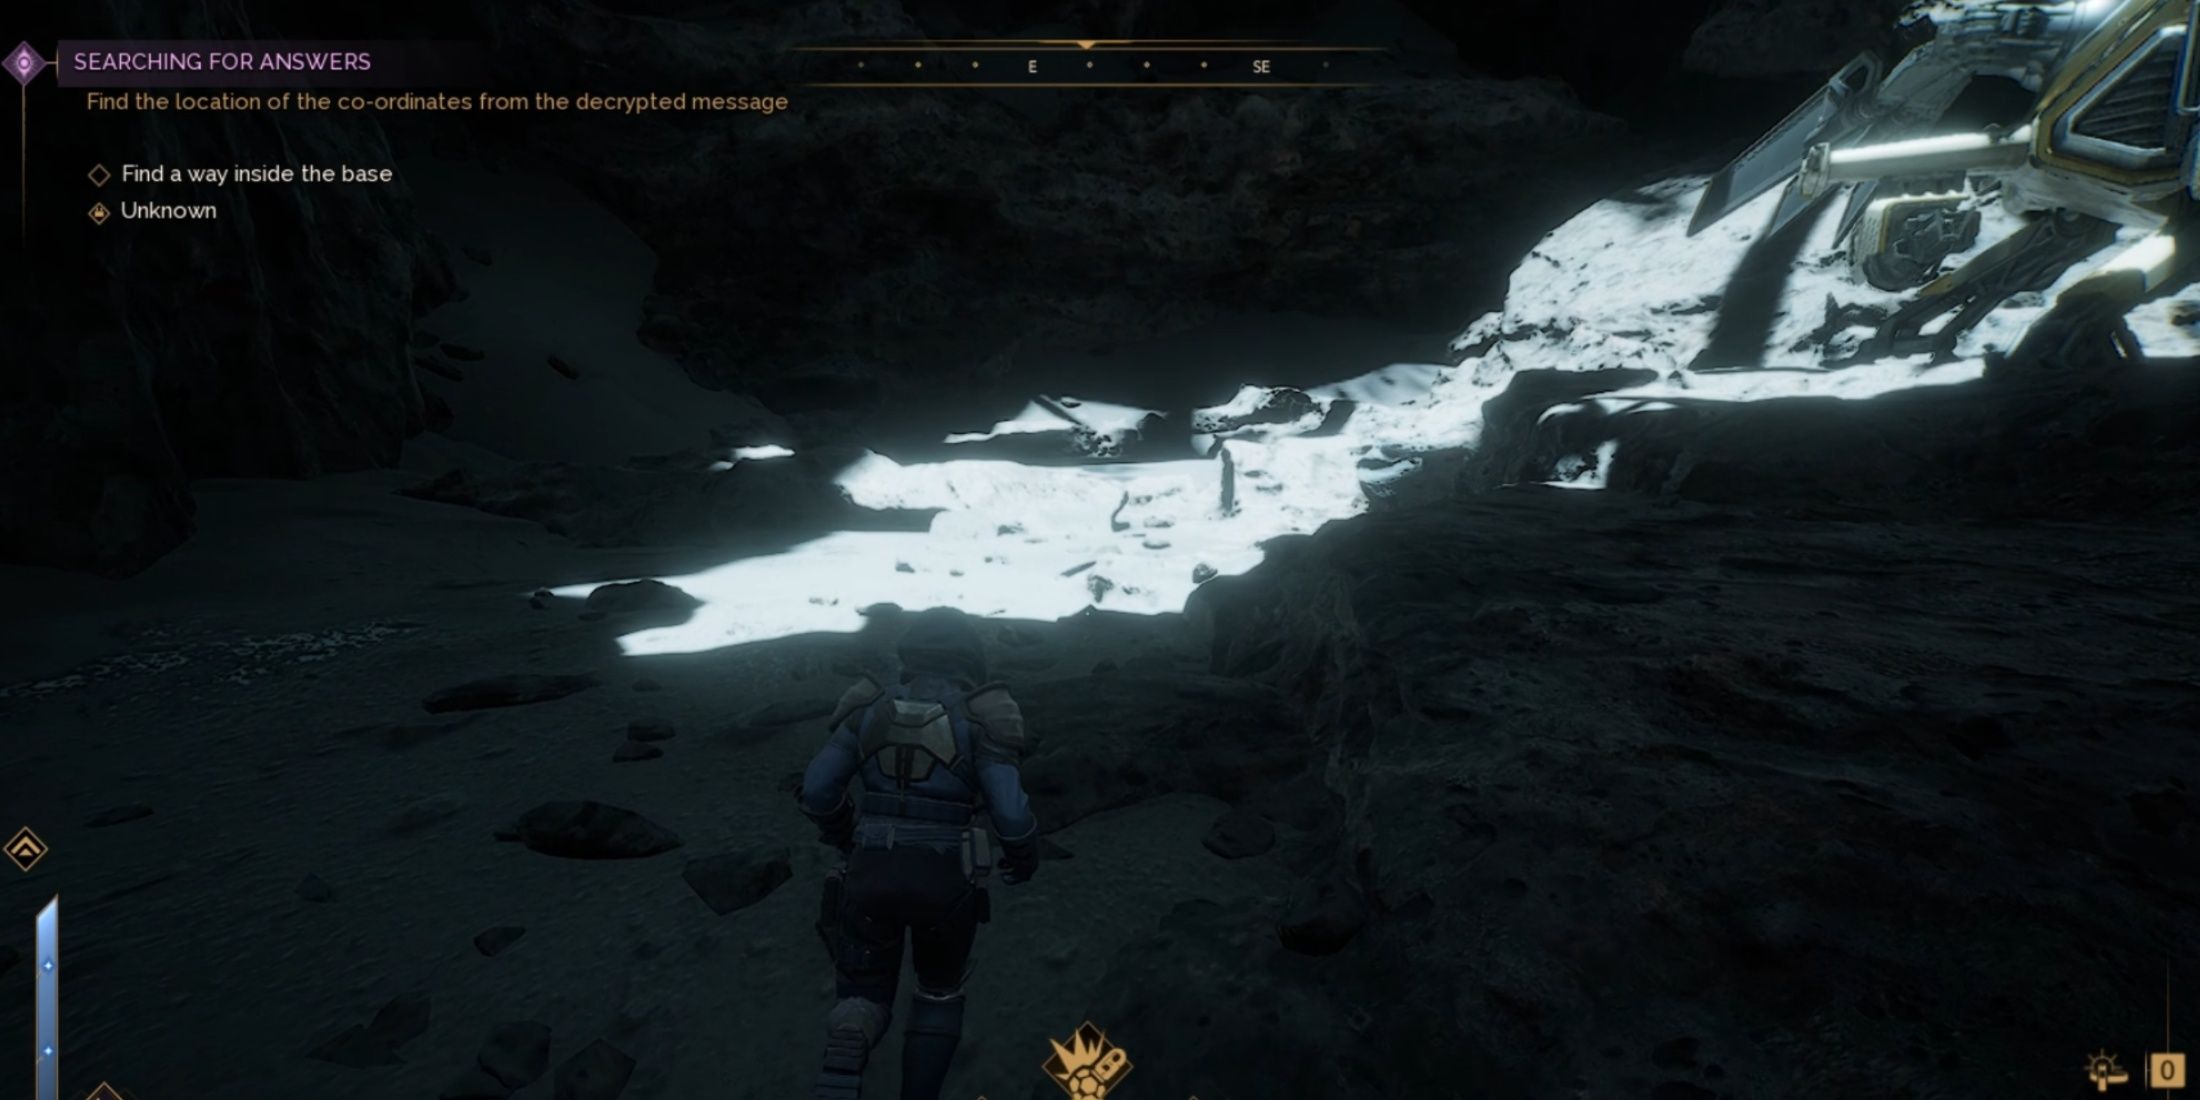
To start the Searching for Answers mission in Dune: Awakening, travel to Harko Village and follow the purple quest indicator to meet Zantara. Players need to tell him they are ready to go before being taken into the ruins of Old Carthag after a cutscene. After dropping from the Ornithopter, follow the path in the rock formation to the left and dive into the cavern.
Players will soon reach a tunnel that leads to their first challenge: A ventilator shaft with an enormous fan that needs to be disabled so they can jump down. If players haven’t brought their Cutterays, there’s a corpse near the bridge where Zantara is waiting, loot it to get a Makeshift Cutteray and a Makeshift Battery just in case.
How To Disable the Fan Systems And Find A Way Inside The Base
Use the axis of the giant fan as a platform, and then jump to the other side, leaving Zantara behind. Turn around the corner of this room for a console with an orange Fan Hologram. Press the button (E) to deactivate the ventilation system, and follow Zantara down the hole.
After a brief conversation with Zantara, players will be separated from him, so the next step consists of breaking a few blast doors using the cutteray to get inside the mysterious facility.
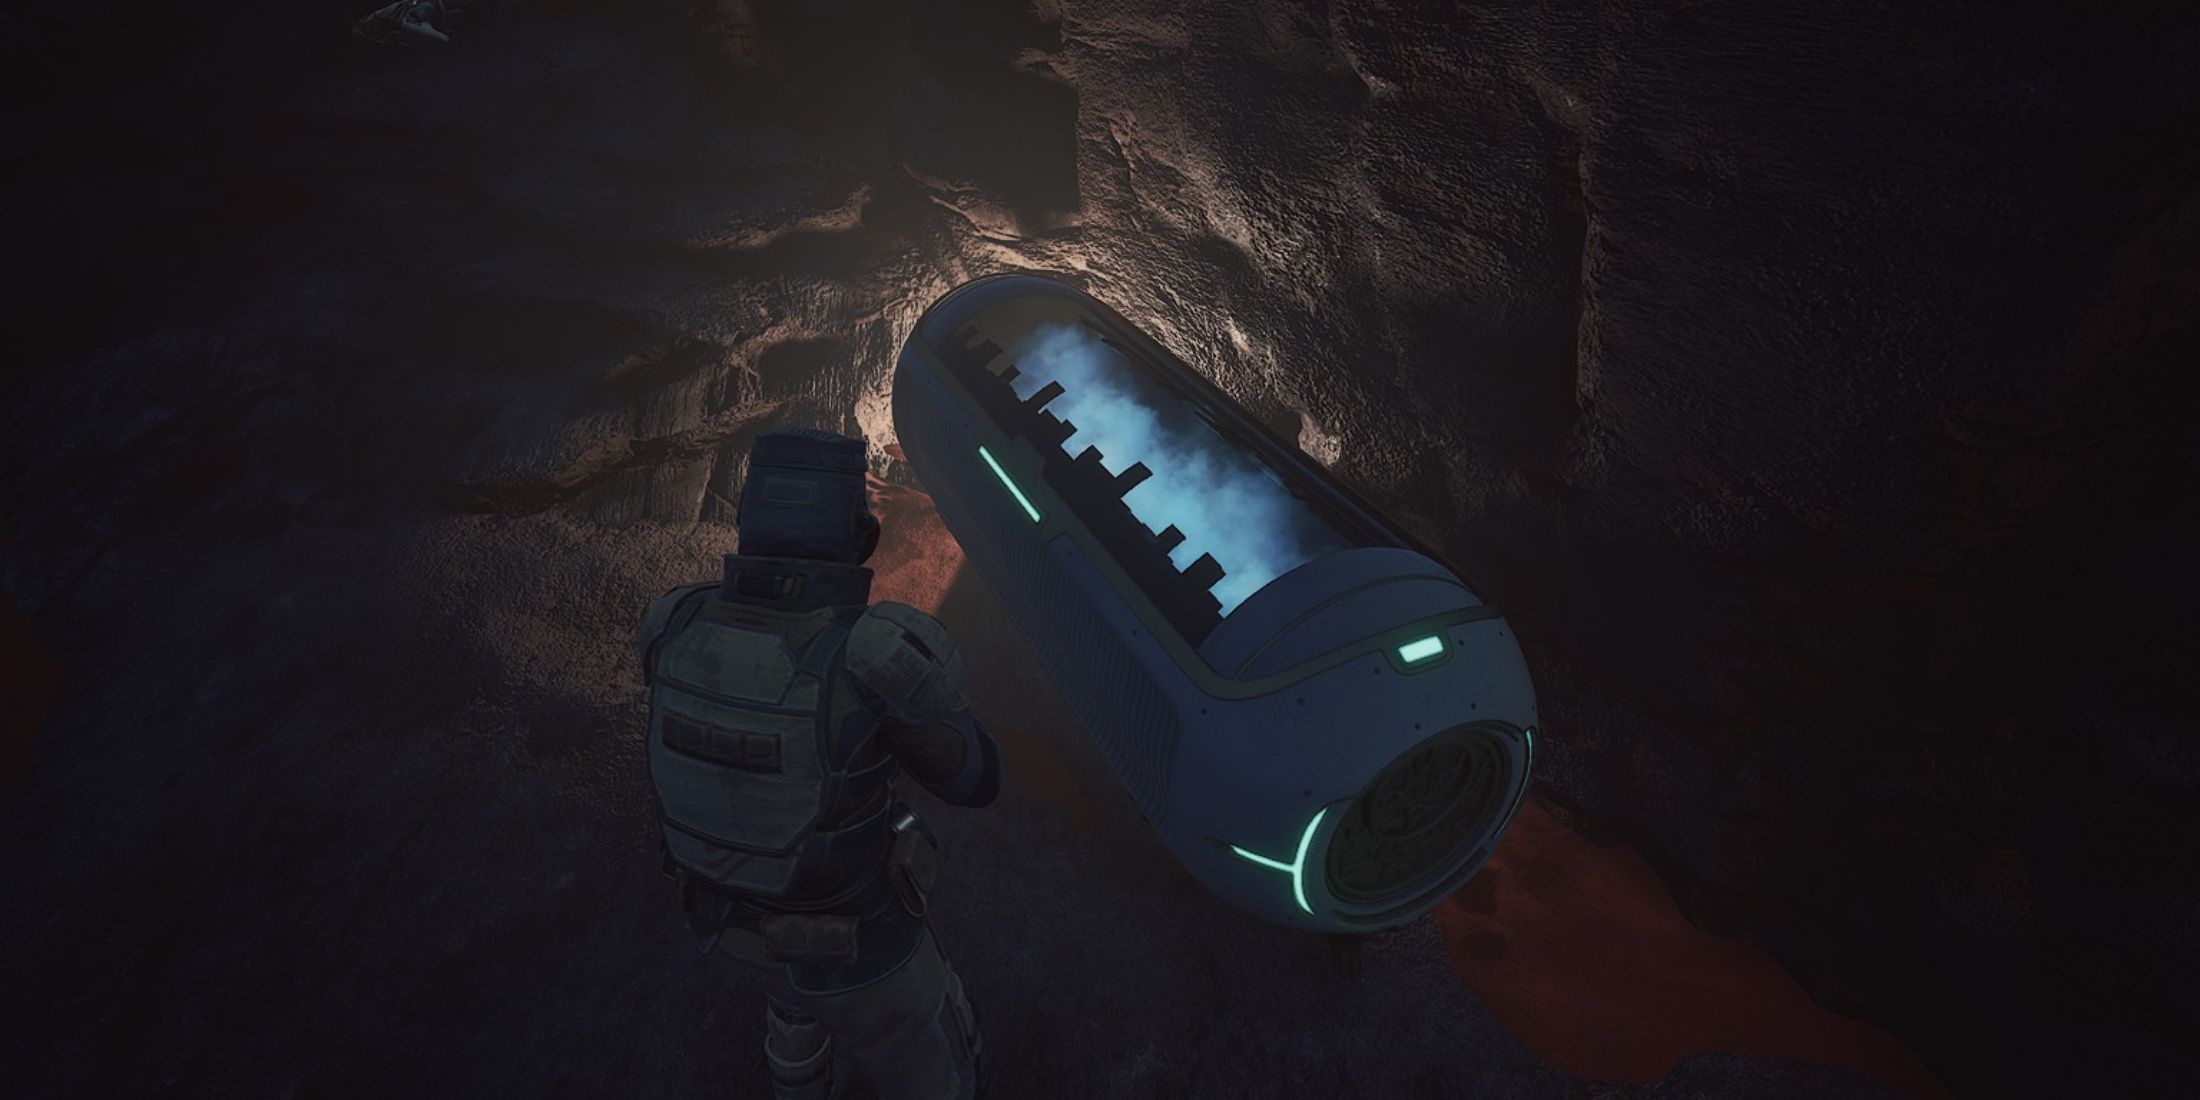
The more players progress further, Zantara’s dialogue will reveal that the base is actually not a Harkonnen facility, but something far more sinister. Search around the rooms for a small detour into an irradiated zone, pick the Iodine Pills from the container, and a Keykard Wristband to cross the Pentashield, then proceed further into the base.
Related
Dune Awakening Best Schematic Farming Spots
Schematics are critical for players aiming to reach the endgame of Dune: Awakening, and here are the best farming spots for these items.
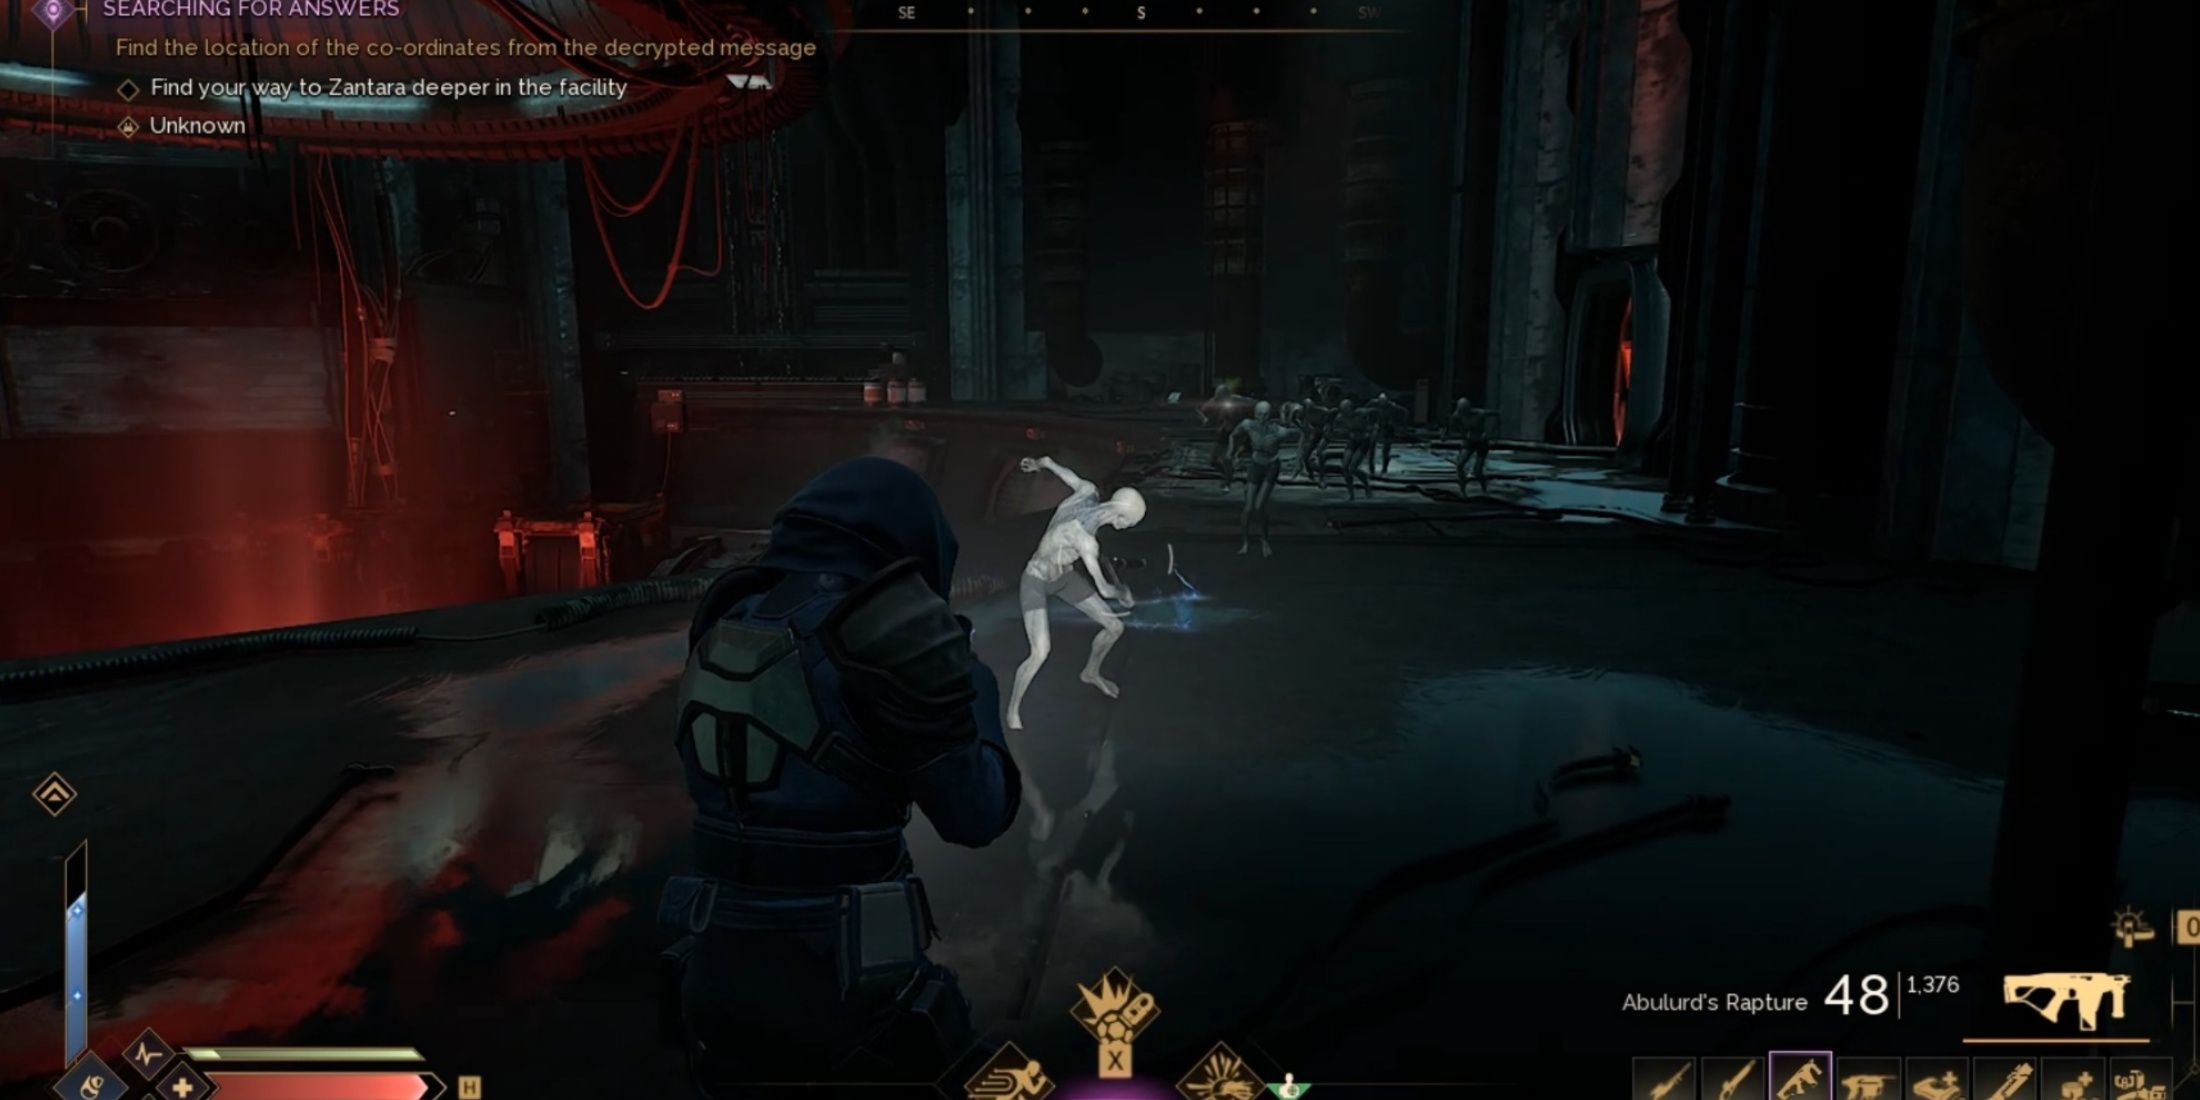
After a brief Cutscene, players will be attacked by a Tlielaxu aberration, and they will need to defend themselves. From here on, players will find two types of enemies: a small, more agile type, and a bulkier, more resilient type that will be harder to take down. These creatures are Tlielaxu Gholas, and they will try to kill players on sight, so don’t take pity on them and shoot ’em up.
Since enemies in the facility are not shielded, a good shotgun to the face or a couple of SMG shots are enough to deal with them. Still, remain vigilant on the corners, since players can never know when enemies are going to jump on them for an ambush.
How To Beat The Tlielaxu Ghola Horde
Move through the hallways of the Tlielaxu laboratory, and don’t mind the loot: besides a few Healing Kits and Darts, there’s nothing much of interest to be discovered. There are a few Communinet recorders that players can activate to gather some extra clues on what is going on inside this sinister place.
But the main concern of players should be the ravenous Ghola that will try to ambush in every corner of the facility. Continue to move forward, blasting through the doors with the Cutteray, until reaching a circular room with a pentashield on the other side. An alarm will go off, and a horde of Tlielaxu Gholas will attack the players.
The strategy for this encounter is to use AoE skills like the Trooper’s Assault Seeker to thin down the horde, then aim for the head in the case of the Bulky enemies, and spray and pray for the smaller ones. Players can also cheese them by jumping through the catwalks and climbing back, as the creatures will try to follow a route from the sides of the circular room.
The problem is that during waves 2, 3, and 4, there will be enemies spawning from both sides of the arena, and they will try to corner the player. Keep culling them down until Zantara sends a message about ‘all being cleared’ on his side. The enemies will cease to spawn, and the Pentashield will allow them to proceed.
Searching For Answers Full Walkthrough And How To Complete
After beating the horde, the path ahead will be pretty much straightforward. Continue to open the blast doors with the cutteray and deal with the remaining Gholas, then meet back with Zantara to enter the final stage of the mission.
After finally getting some answers as to why the players were sent to the planet, a final cutscene will play, and players will need to evacuate the base before it collapses. Players have one and a half minutes to get out or die, so move faster and with purpose. Avoid fighting the horde of Gholas and run following the tunnels until reaching the Ornithopter, then approach it and board it to leave.
As a reward for this mission, players will receive Zantara’s Crysknife, the fastest melee weapon in the game. Plus, a huge chunk of experience and unlock the next stage of the Quests after they return to their base.
